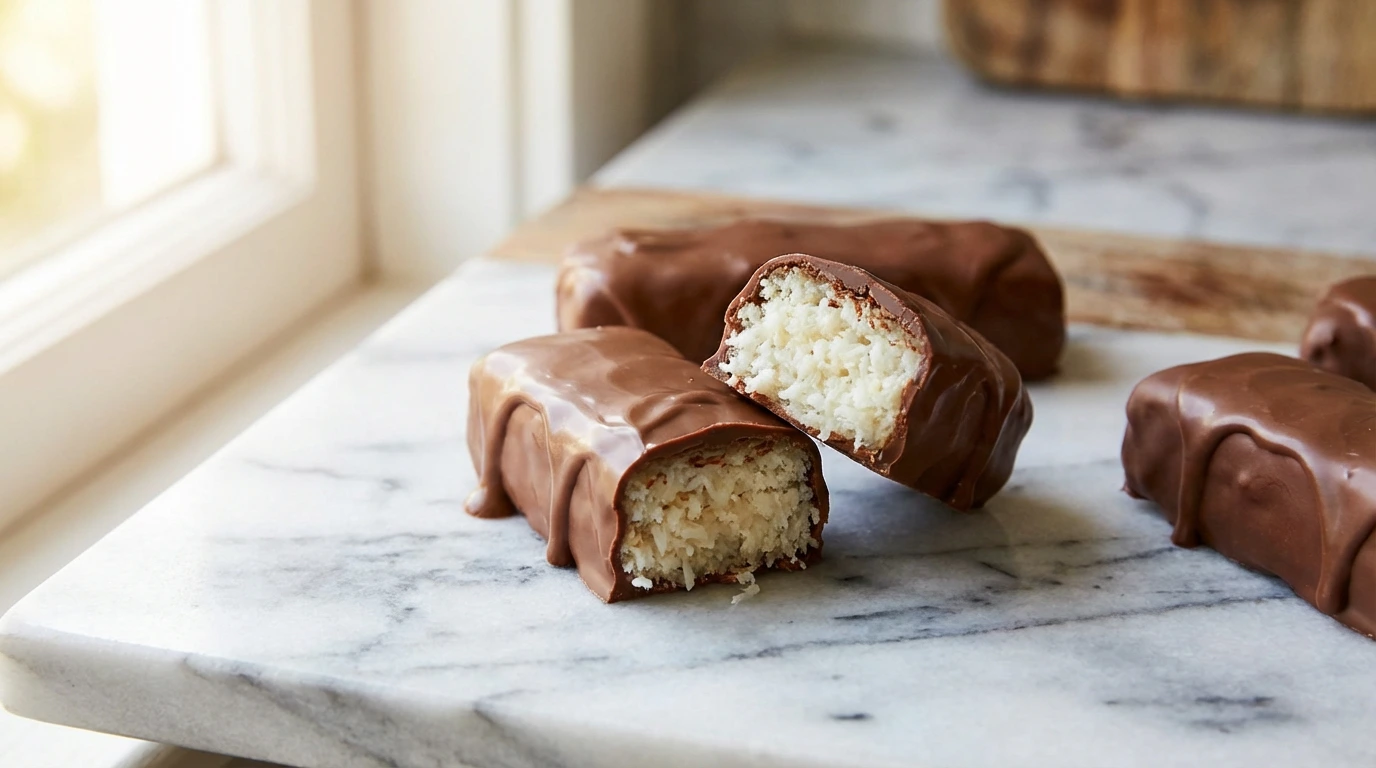
If you love the classic Bounty chocolate bar with its creamy coconut center and smooth chocolate coating, you’re going to fall in love with this homemade Bounty bar recipe. These no-bake coconut bars are incredibly easy to make, require just a handful of ingredients, and taste even better than the store-bought version.
Making Bounty bars at home means you control the sweetness, choose your favorite chocolate, and enjoy a fresher, more natural dessert. Whether you’re preparing a quick treat for your family, a homemade gift, or a sweet snack to satisfy chocolate cravings, this recipe delivers every time.
Jump to RecipeWhy Make Homemade Bounty Bars?
Homemade Bounty bars are not only delicious but also surprisingly simple. Unlike many desserts, this recipe doesn’t require baking, special equipment, or advanced skills.
Here’s why you’ll love this recipe:
- Ready with minimal prep
- Made with simple pantry ingredients
- No preservatives or artificial flavors
- Easily customizable
- Perfect for beginners
What Is a Bounty Bar?
A Bounty is a popular chocolate candy made with a soft coconut filling coated in milk or dark chocolate. It’s known for its tropical coconut flavor and creamy texture. This homemade version captures the same iconic taste while allowing you to adjust sweetness and chocolate intensity to your liking.
Ingredients for Homemade Bounty Bars
| Ingredient | Quantity |
|---|---|
| Desiccated coconut (unsweetened) | 2 cups |
| Sweetened condensed milk | ½ cup |
| Vanilla extract | 1 teaspoon |
| Milk or dark chocolate | 200–250 g |
| Coconut oil (optional) | 1 teaspoon |
How to Make Bounty Bars at Home
Step 1: Prepare the Coconut Filling
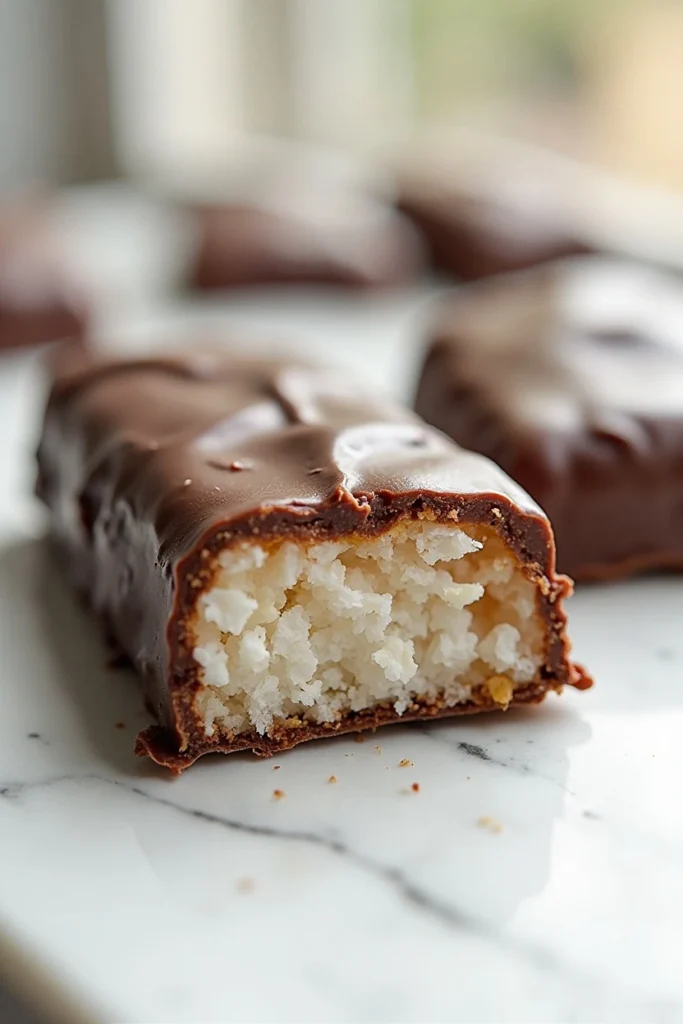
In a medium mixing bowl, combine the desiccated coconut and sweetened condensed milk. Add vanilla extract and mix until the coconut mixture becomes moist, sticky, and holds together easily.
The texture should be firm but soft. If it feels too dry, add a small spoon of condensed milk. If it’s too wet, sprinkle in extra coconut.
Step 2: Shape the Bars
Line a tray or baking sheet with parchment paper. Scoop small portions of the coconut mixture and shape them into rectangular bars using your hands.
Place the shaped bars on the lined tray and transfer to the freezer for 20–30 minutes, or until they are firm enough to dip into chocolate.
Step 3: Melt the Chocolate
Break the chocolate into pieces and melt it using a double boiler or microwave. If using a microwave, heat in 30-second intervals, stirring each time to avoid burning.
Stir in coconut oil if desired for a smoother, shinier chocolate coating.
Step 4: Coat the Coconut Bars
Remove the chilled coconut bars from the freezer. Dip each bar into the melted chocolate, ensuring it’s fully coated.
Use a fork to lift the bar, allow excess chocolate to drip off, then place it back onto the parchment-lined tray.
Step 5: Set and Serve
Place the chocolate-coated bars in the refrigerator for 15–20 minutes, or until the chocolate is fully set.
Once firm, your homemade Bounty bars are ready to enjoy.
Tips for Perfect Bounty Bars
- Use unsweetened coconut to avoid overly sweet bars
- Chill the bars well before dipping for cleaner coating
- Dark chocolate balances sweetness beautifully
- Store bars chilled for best texture
Variations to Try
- Dark Chocolate Bounty Bars: Use 70% dark chocolate
- Almond Bounty Bars: Add a whole almond inside each bar
- Vegan Version: Replace condensed milk with coconut condensed milk
- Mini Bounty Bites: Roll into small balls instead of bars
How to Store Homemade Bounty Bars
Store your Bounty bars in an airtight container in the refrigerator for up to 7 days.
For longer storage, freeze them for up to 2 months and thaw slightly before serving.
Frequently Asked Questions
Can I use shredded coconut instead of desiccated coconut?
Yes, but desiccated coconut gives a firmer, more authentic texture.
Can I make Bounty bars without condensed milk?
Condensed milk is essential for sweetness and binding. Vegan condensed milk is a great alternative.
Are homemade Bounty bars gluten-free?
Yes, this recipe is naturally gluten-free.
Conclusion
This homemade Bounty bar recipe proves that you don’t need complicated ingredients or baking skills to recreate a classic chocolate favorite. With its soft coconut center and rich chocolate coating, these bars are perfect for dessert, gifting, or anytime you crave something sweet and satisfying.
Once you try them, you may never go back to store-bought Bounty bars again.
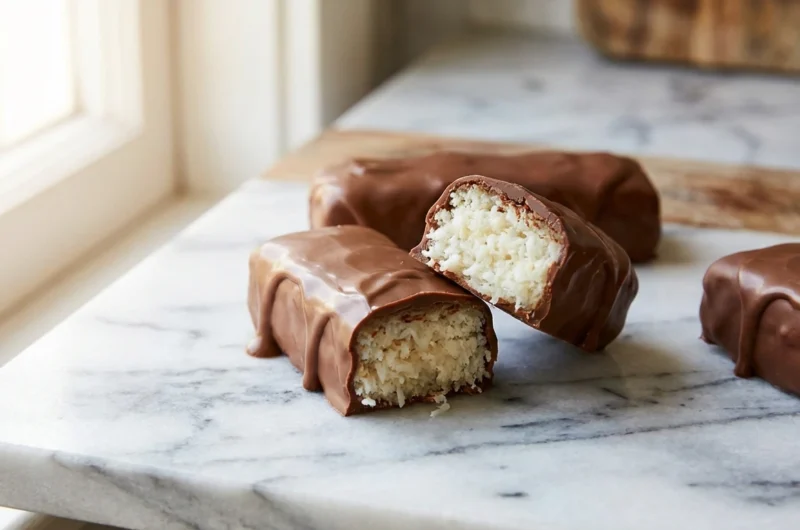
Easy Homemade Bounty Bar Recipe
Course: DessertCuisine: InternationalDifficulty: Easy12
bars20
minutes40
minutes1
hourIngredients
- 2 cups desiccated coconut
½ cup sweetened condensed milk
1 tsp vanilla extract
200–250 g milk or dark chocolate
1 tsp coconut oil (optional)
Directions
- Mix coconut, condensed milk, and vanilla until combined.
Shape mixture into bars and freeze for 20–30 minutes.
Melt chocolate and mix in coconut oil if using.
Dip bars into chocolate and place on parchment paper.
Refrigerate until chocolate is set.
Notes
- Use unsweetened coconut to avoid overly sweet bars
Chill the bars well before dipping for cleaner coating
Dark chocolate balances sweetness beautifully
Store bars chilled for best texture